Creating the Displacement Map
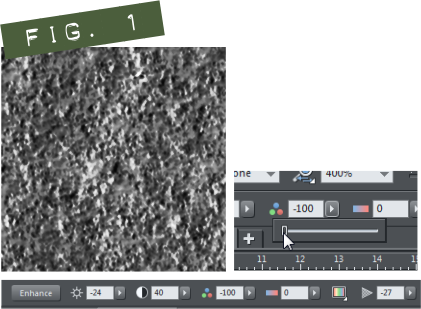
Once you have the displacement plugin installed, extract purple_aggate.png from the zip archive and drag and drop it into Designer Pro. Double click the texture to activate the Enhance tool (AKA the Photo tool). On the InfoBar click the right arrow associated with the Set photo saturation to reveal the slider. Drag the Set photo saturation slider all the way to the left to completely desaturate the image. Use the InfoBar’s Set photo brightness and Set photo contrast slider controls to bring the brightness down a bit and increase the contrast. Use the Set blur or sharpness InfoBar slider to add a bit of blur to the image. This is the displacement map that we will use with the plug-in. See Figure 1.

Figure 1. Displacement Map
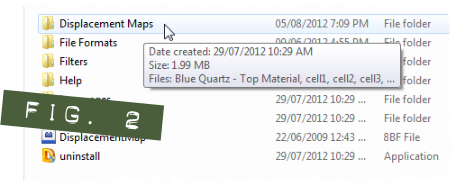
Now you need to export this image from Xara to your hard disk as as purple_agate.png. You can save it anywhere you like; just remember where you saved it because you will have to navigate back to that folder to use the image with the ImageSkill filter later. Displacement maps can be reused from project to project so you may want to create a folder on your hard disk just to hold displacement maps. See Figure 2.

Figure 2. Export Location
Delete the image after you have exported it (you will be able to access the original texture from the Bitmap Gallery when we get to that step).


