

OK You’ve Waited Long Enough…
- Figure 17
- Figure 18
- Figure 17
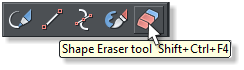
That’s pretty amazing. But this is even more amazing. The Eraser Tool is non-destructive. What’s that mean? It means that if later today, next week, or next year, you decide you want restored what you previously erased, simply Ungroup the image. The erasures now become separate objects which you can delete or add back using Arrange > Combine Shapes > Subtract Shapes
The Shape Builder Tool (Designer Pro X only)

- Figure 20
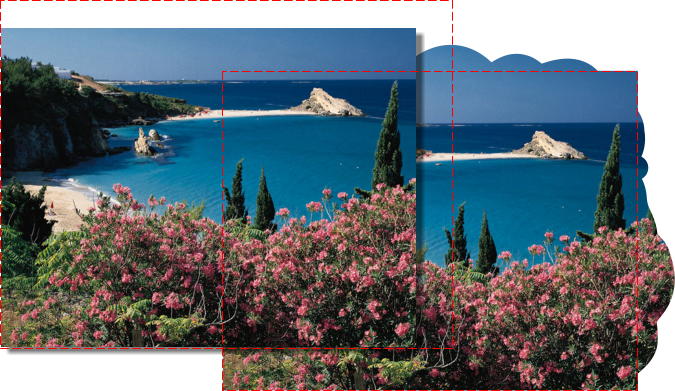
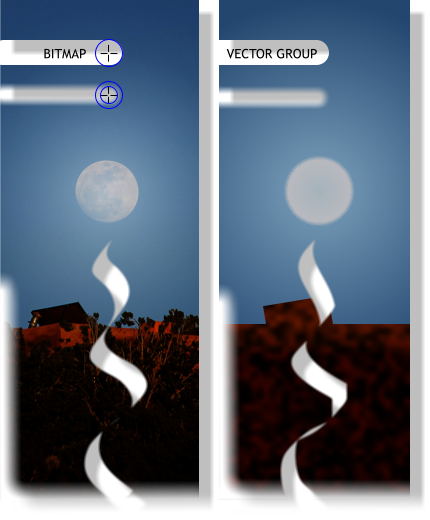
- Figure 21
I cropped the bitmap shown in figure 21. above left. The red outline represents the actual photo before cropping. I used the Shape Builder Tool to add on a vignetted shape to the photo shown bottom right.
- Figure 22
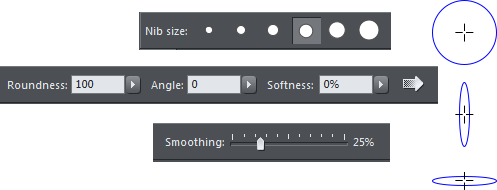
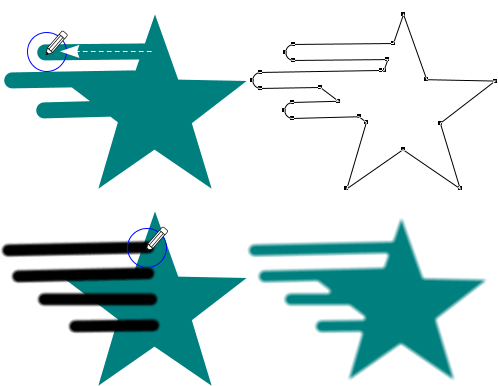
If softness is added, then the resulting stokes are rendered as separate feathered vector objects in your default fill color. You can add these to an existing object using Arrange > Combine Shapes > Add Shapes or simply press Ctrl +1.

- Figure 23
If two objects are selected and you draw from one shape to the other and no softness is applied to the stroke, the shapes are combined into one shape. See Figure 23.
I bet if you played around a little bit, and if you have more artistic ability than I, you could actually create some very painterly effects like those in Figure 24. By altering the angle and width, you can create some calligraphic effects such as those shown below in See Figure 25.

- Figure 24

- Figure 25


