|
|
|
|
|
||||
 |
|||||
Xara X. Glossary E |
|
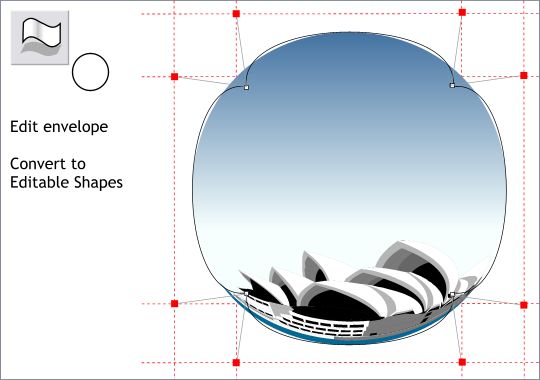
Step 6 Repeat the last step until all four sets of control handles have been snapped to the intersection of the guidelines as shown. This looks more like a fisheye lens. But it could be even more distorted. Convert the envelope to editable shapes (Arrange).
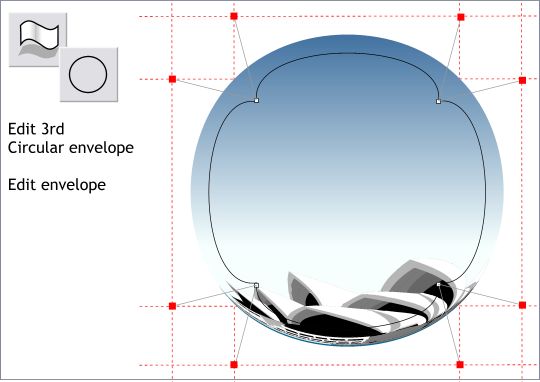
Step 7 Apply a third Circular envelope and edit it again as we did in the last two steps. Now this looks more like a fisheye lens or a Victorian reflecting ball.
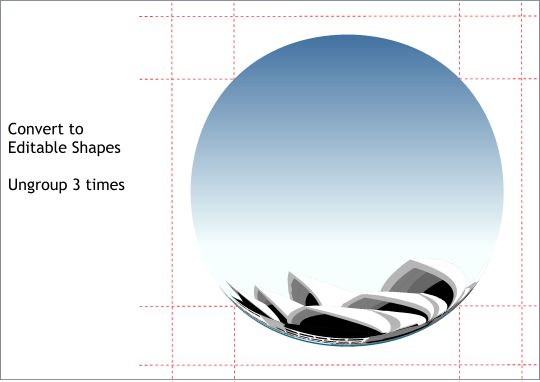
Step 8 Convert to editable shapes (Arrange menu) and then ungroup three times (Ctrl u or Arrange > Ungroup). The distortion looks good now but the shading needs some depth.
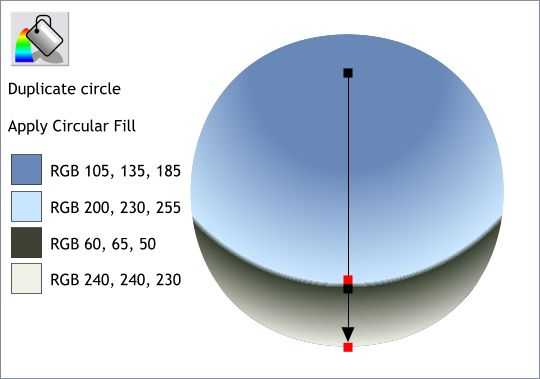
Step 9 Clone the circle (Ctrl k). Select the circle with the Fill Tool and select Circular from the Fill Type drop down list on the Infobar. Drag the center of the fill almost to the top of the circle and drag the other end of the fill path arrow down to the bottom of the circle as shown. Change the start and end colors as shown. Double click on the fill path arrow twice to add two new color stations and modify these new color stations using the middle two colors shown above. The center two color stations need to be almost touching but not quite. Select one of the color station squares then use the up or down arrow keys on your keyboard to nudge the stations. Hold down the Alt key when pressing the arrow keys to constrain the movement to single pixels. TIP: It is not always easy to select the color stations when they are close together. Pressing the Tab key repeatedly cycles through the color stations and is an easier selection method.
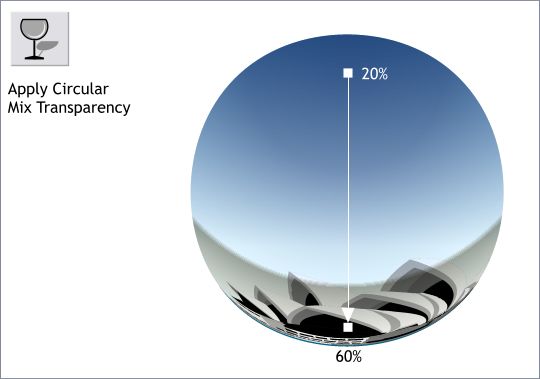
Step 10 Select the circular filled circle and apply a Circular, Mix transparency. Just as you repositioned the center of the circular fill, do so now with the circular transparency. Change the top amount to 20% by selecting the top control handle then moving the Transparency slider on the Infobar to 20%. Press the Tab key to select the opposite control handle and change the transparency slider setting to 60%.
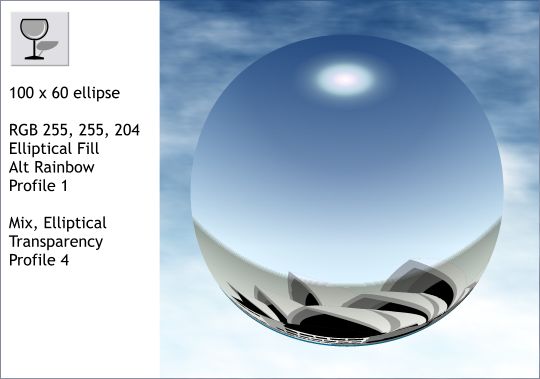
Step 11 Add a 100 x 60 pixel ellipse near the top of the circle. Change the fill to pale yellow, change the Fill Effect to Alt Rainbow (select from the Fade drop down list on the Infobar). Click the Profile arrow on the Infobar and select Profile 1 from the drop down list of preset profiles. Apply an Elliptical, Mix transparency and modify the transparency Profile to Profile 4. I added a square behind the sphere and using a light and dark sky color, created a Linear sky fill. I duplicated the linear fill and applied a Fractal Cloud, Stained Glass transparency to create the wispy clouds effect. Both filled squares were sent to back (Ctrl b). Feedback RequestedHow do you like the new Workbook format? And is there anything you would like to see covered a mini-tutorial? Please use the form on the next page to send me your comments. You will not get added to any SPAM lists and nobody but thee and me shall see your comments. I promise. Gary Priester |
|