 |
 |
| H 1 2 3 4 5 6 |
|
|
|
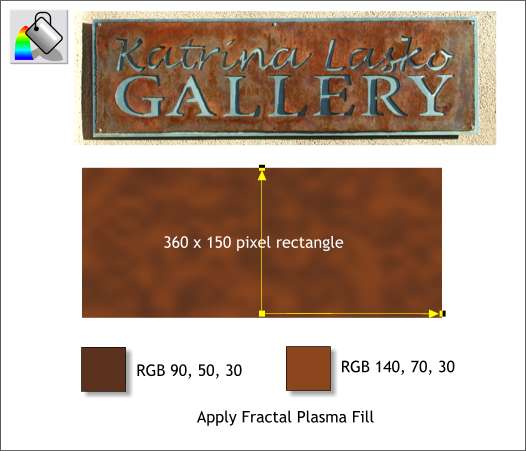
I'm designing a website for a local art gallery. The gallery owner wanted to use the plaque mounted on the stucco wall outside the gallery for a graphic on the website. Unfortunately the light at this time of year is never directly in front of the plaque resulting in a harsh shadow. I might have spent some time in Photoshop masking off the shadows. Or, I could recreate the plaque in Xara and create material for this last tutorial. Not a tough decision.
The photo on top is the actual plaque and you can see how the unavoidable shadows make the text hard to read. A Fractal Plasma fill using the two RGB colors shown was applied with the Fill Tool to a rectangle and the fill adjusted to approximate the rusty metal colors on the plaque.
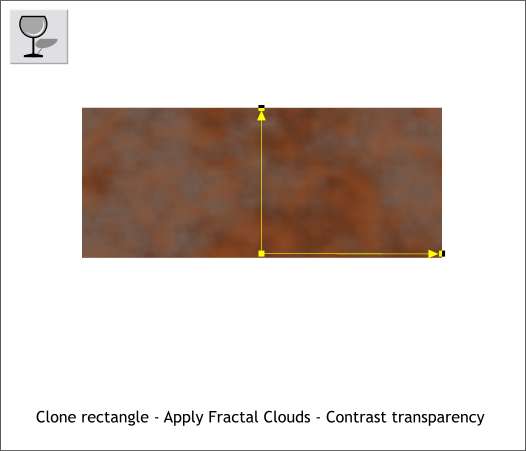
The rectangle was cloned (Ctrl k) and a Fractal Clouds - Contrast transparency added. This adds more subtle colors to the rusty metal and imparts a more natural realistic look
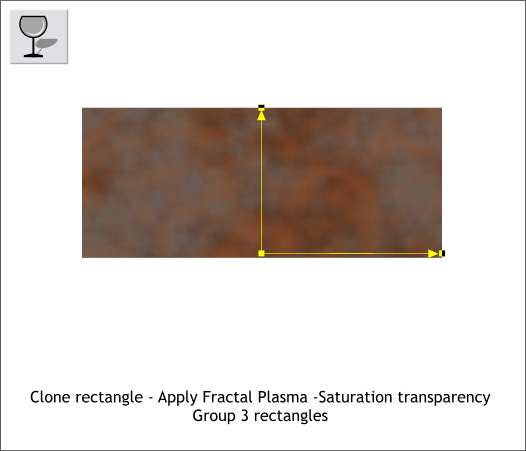
Another clone was made and the transparency changed to Fractal Plasma, Saturation adding a little more depth to the colors.
The client had provided an Adobe Illustrator EPS with the type which unfortunately I was unable to use. But opening the file in Adobe Illustrator, identified the two fonts used and both of which I have installed on my computer. The text was recreated using the two fonts and the word GALLERY was letter spaced to match the spacing on the plaque. The actual plaque was cut out from metal using an oxy-acetylene cutting torch and has a imprecise outline. A similar outline was created with the Freehand and Brush Tool.
The text was removed from the grouped metal shapes by selecting both and Arrange > Combine Shapes... Subtract Shapes. The outline and the metal shape were selected and Arrange > Combine Shapes... Slice Shapes used to slice off the outside portion. (The remaining outer portion was selected and deleted).
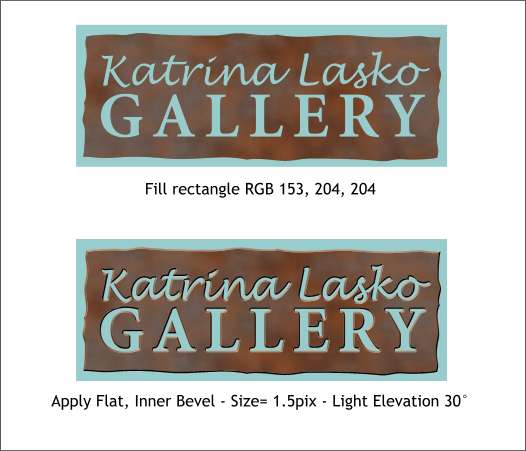
The metal plaque is mounted on a larger rectangular section of metal with a van de gris blue green patina. This color was sampled with the Color Editor (Ctrl e ) eyedropper tool and then modified to make it lighter which enabled the metal plaque to better separate from the background. A Flat, Inner Bevel to the settings shown above was used to add dimension to edges and cut out letters.
A Wall Shadow was added to the plaque and the blue green rectangle. A variation of the stucco texture created earlier was applied to a rectangle to replicate the stucco wall upon which the plaque is mounted. You can compare the before and after images above. In reality, the Minion Bold text on the real plaque has been stretched about 110-112% (the individual characters vary in the amount of stretching that was applied). And were I to match the plaque exactly, the characters would be modified one-by-one to match the original.
And so, this wraps up another Workbook. #18 to be exact. Are these mini-tutorials helpful? Have you learned anything new? Do you have any comments, questions or criticisms? Please use the form on the next page to send me your comments. Gary W. Priester
|
|
|
|
|
|
|