|
|
|
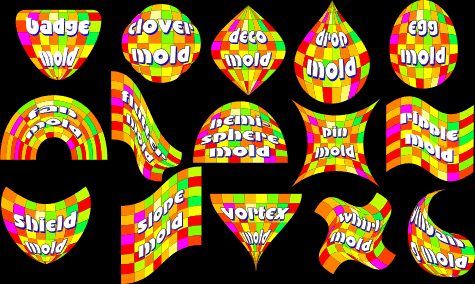
Tony Roberts has created series of envelopes which you can download for free from Tony's page in the Xara Xone Shareware section. Tony recommends installing the mold shapes in a custom folder in the Clipart Gallery. So in this tutorial, I'll show you how to do this. You can use this technique to create additional folders in the Fill and Clipart galleries. Here are some of Tony's mold shapes. You can see that Tony has spent a lot of time creating some of these shapes to save you the "heavy lifting". Download the ZIP file and unzip the contents to a new folder in your Xara program folder (usually C: > Program Files > Xara >...
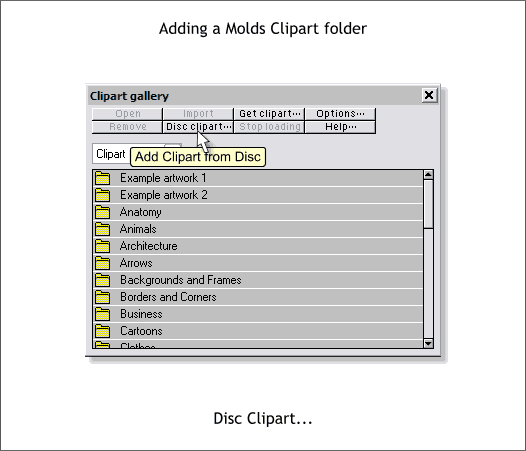
Open the Clipart Gallery (Shift F-10) and press Disc Clipart...
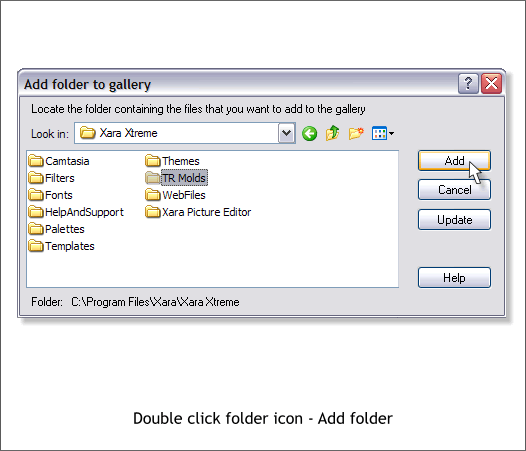
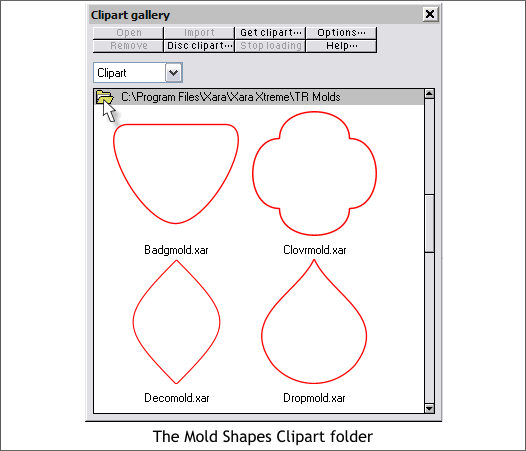
Browse to the Directory in which you placed the folder containing Tony's envelope shapes, in this case the folder is called TR Molds. Double click on the folder and press Add.
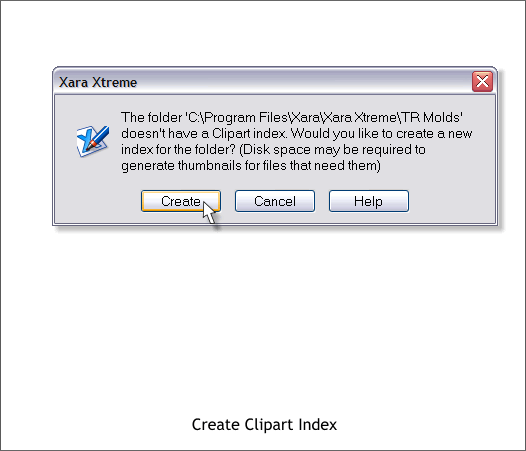
A dialog will appear that says you need to create an Index for your folder. Click Create. An Index is a series of small thumbnail images.
Now when you open the Clipart Gallery, you will see the new folder.
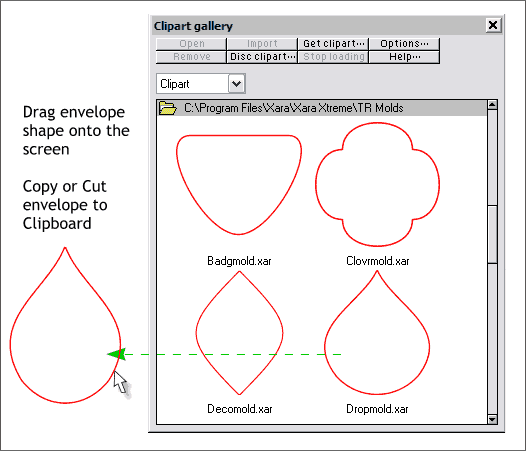
To apply one of these envelope shapes, drag the shape from the folder onto the page and then Copy (Ctrl c) or Cut (Ctrl x) it to the clipboard.
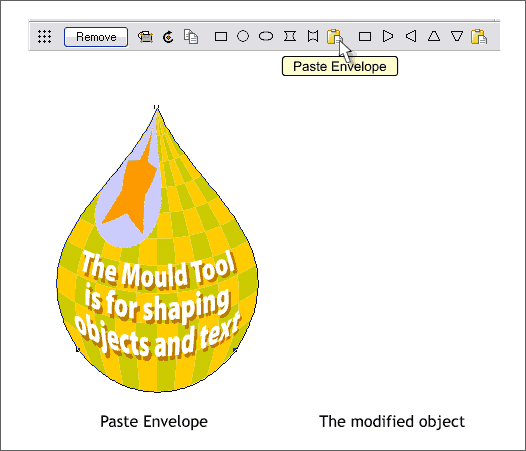
Select the target shape with the Mold Tool (Shift F6), and press the Paste Envelope icon on the Infobar. Once applied you can edit the envelope further if you wish.
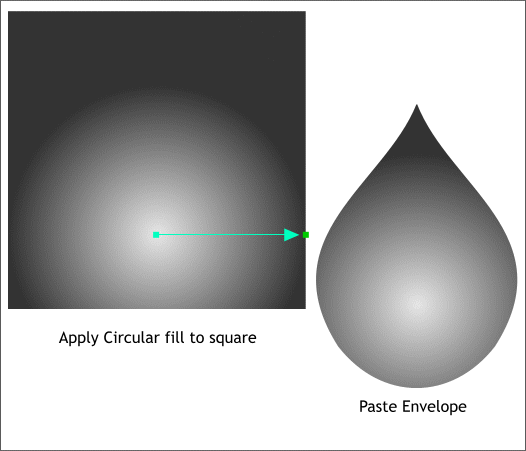
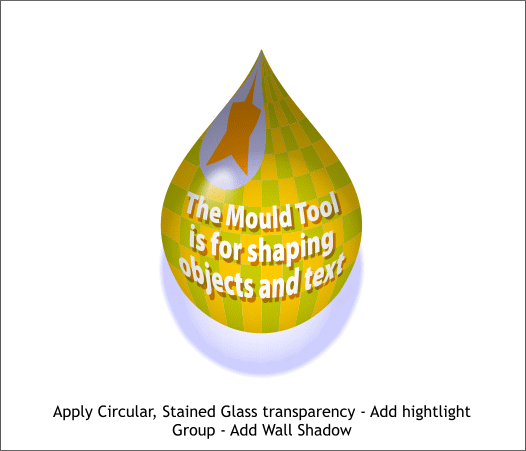
Here's a mini-tutorial. Create a square and apply a Circular fill using 80% black and 10% black. Drag the center of the fill down as shown. Paste the tear drop Envelope shape.
Center the circular filled shape over the other enveloped shape and apply transparency, a highlight and a drop shadow.
|
||
|
|


