|
|
|
There has been lots of discussion recently in the Xtreme Conference regarding the mysteries of working in CMYK color space and exporting files in CMYK format. Many of the most helpful answers have come from Minimiro who is our resident CMYK expert. (To be fair, Charles Moir is our Chief resident CMYK Expert as well). This tutorial is based on a long response Minimiro made in the Xtreme conference. In his tutorial, Minimiro calls for a free Tuborg beer after each step and if you are ever in New Mexico, stop by Minimiro and I'll buy you a case of Tuborg.
Unlike Adobe Illustrator, which for better or worse is the industry standard, Xara can work with objects that are either RGB and CMYK. As Charles recently pointed out, this has many advantages. Primarily RGB is the best environment to create and edit art in when working on the computer. Working only in CMYK (Illustrator makes you select one or the other workspace) means you loose the flexibility of taking an illustration back and forth from one workspace to the other. The easy way. There is one surefire way to save yourself a lot of trouble and that's to export a CMYK file in which all your colors are automatically converted to CMYK. This is the CMYK TIFF export option. Export your CMYK TIFF file at whatever resolution your printing company specifies (usually between 300-600dpi) and you're home free. The benefit of this method is it is quick, easy and efficient. But there are many reasons for exporting a vector based EPS or PDF file. The best of these reasons is vector objects are scalable and device dependent. So if your print job will print at your printing company's highest resolution.
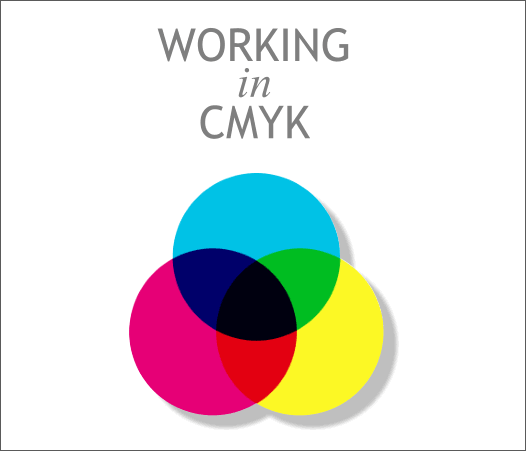
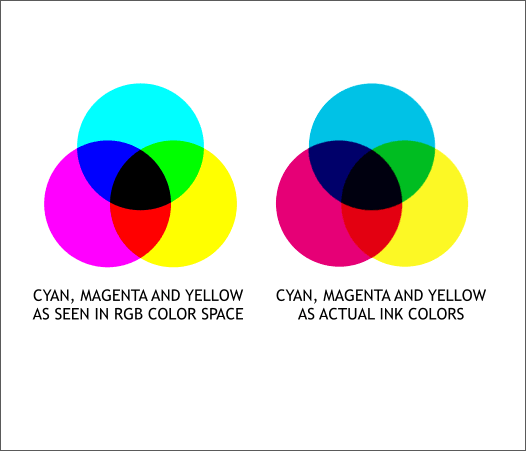
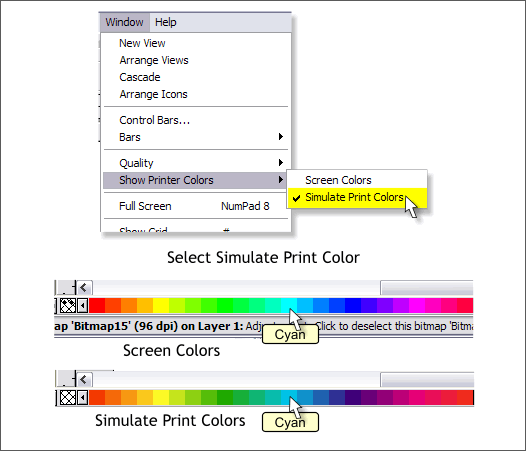
An important thing to keep in mind, without getting into a technical discussion of additive Vs subtractive colors, is RGB color space displays colors using red, green and blue colored lights, pixels or phosphors on a TV or computer monitor. CMYK color is intended to be printed using four transparent colored inks, Cyan, Magenta, Yellow and Black and printed a sheet of printing paper. The true color space for the computer is RGB. When you work in CMYK color space on the computer you are working in a simulation of CMYK printed colors. In Xara's normal RGB display mode, colors such as cyan, magenta, and yellow display very bright and vibrant as shown above left. But actual CMYK colored printing inks are more muted as you can see above right. The not so easy way.
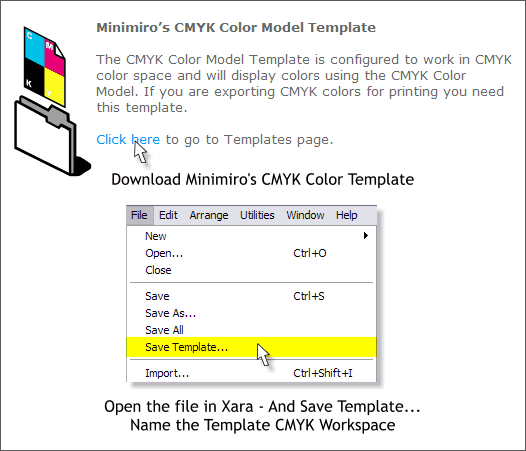
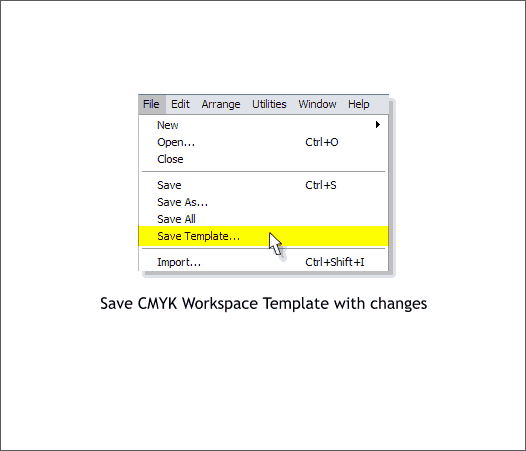
Minimiro has created a template which makes it easier to work in CMYK color space. Download the template here. Unzip the ZIP file, open the XAR file in Xara and save it as a template (File > Save Template...) Name the template CMYK Workspace.
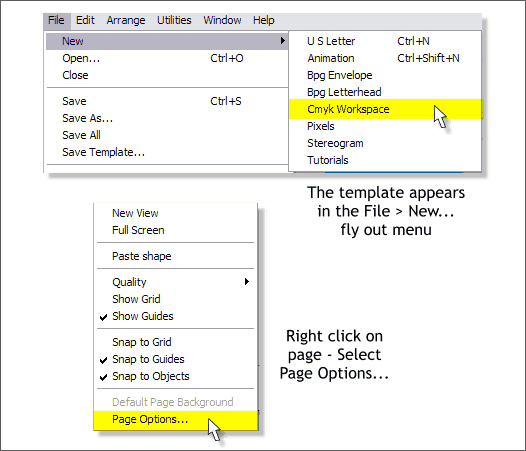
The template should now be available when you open the File > New... flyout menu. If you do not see it, you might need to go into the Xara > Templates folder and delete a few of the template files you don't use. Xara can only display a limited number of template files. Once you have opened and saved Minimiro's template, right click on the page and select Page Options...
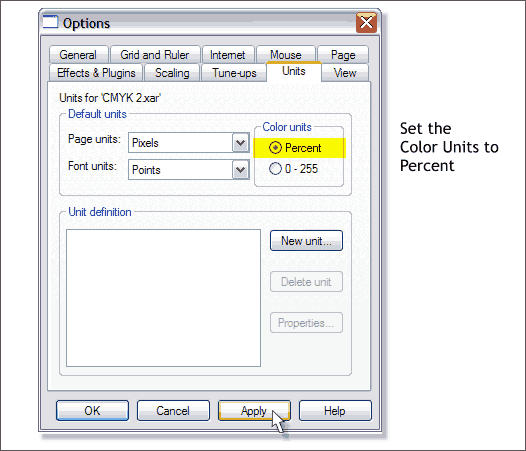
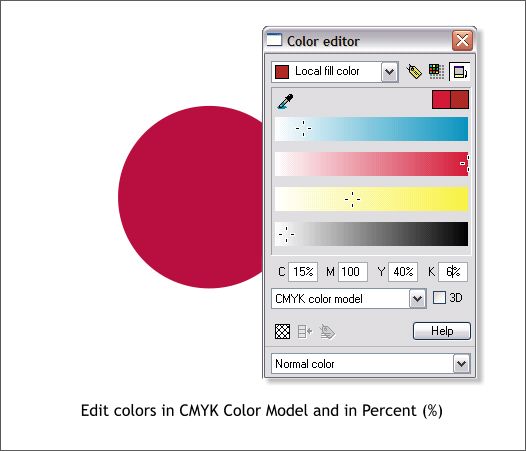
In the Units tabbed section, check Percent. CMYK colors are most often displayed in percent rather than 0-255. Press Apply to apply the change.
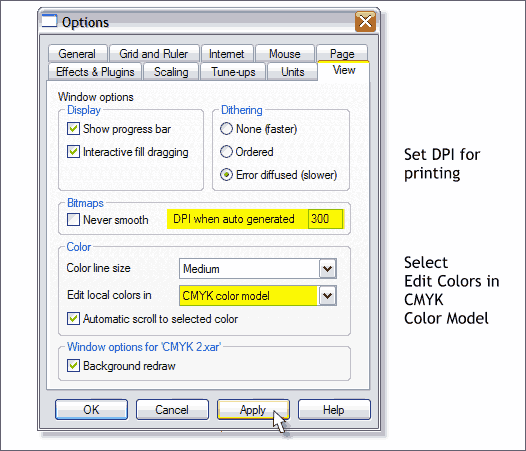
In the View tabbed section, set the DPI setting to 300 (or higher if necessary to correspond with your printing company's print resolution). Change the Edit Local Colors in setting to CMYK Color Model and press Apply to apply these changes. Or press OK to save these changes and close the dialog.
To change the display to simulate CMYK printed colors, select from the Windows drop down menu Show Printer Colors > Simulate Print Colors. As the example above illustrates, the Simulate Print Colors screen palette shows the more muted manner in which these colors will appear when printed on paper.
Now that you have made these changes, Save the Template once again. You are now ready to work in CMYK color space.
When you edit your colors in the Color Editor (Ctrl e), use the appropriate CMYK percentages. White is designated as 0% for all 4 colors. TIP: To make black print darker and richer, create a 4-color black. Cyan 15%, Magenta 15%, Yellow 15% and Black 100%.
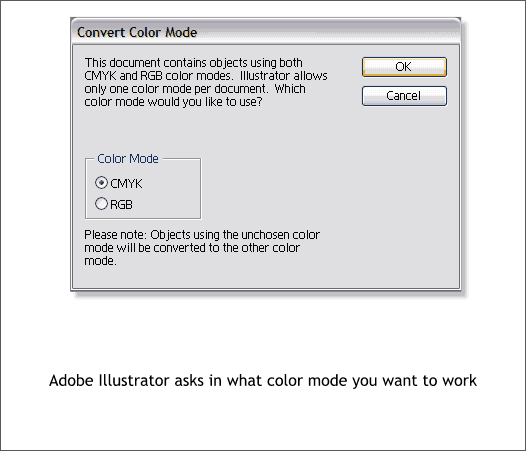
If you export your file as an Xara EPS or Adobe PDF file (Xtreme's PDF format is the best for exporting a file to be opened in Illustrator), and then open this file in Illustrator, you will see a dialog like the one shown above asking you to specify which color space you want to work in. As Minimiro points out, this is because all of the colors in your screen palette are exported with the file and some of these are RGB and some are CMYK. Just check CMYK and you will be good to go as they say.
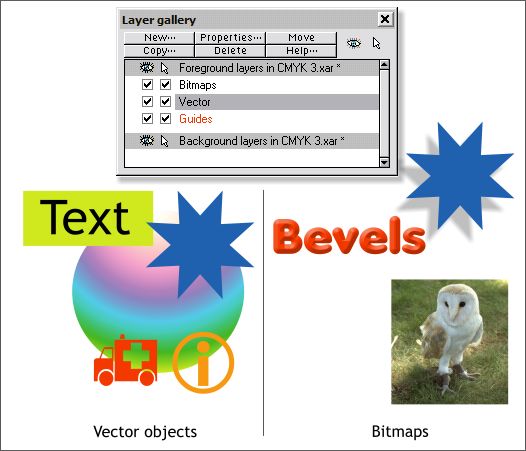
Minimiro also says for best results, you should avoid things like bevels, shadows, feathering and bitmaps in your EPS or PDF file because these objects all are converted to RGB bitmaps upon export. If you need to work with both vector and RGB bitmaps, Minimiro recommends creating two layers in the Layer Gallery and exporting all vector objects from one layer to one file and all bitmap objects from another layer to another file and then combining these in Photoshop or letting the printer do the conversion and combining. This just scratches the surface of this most complex and difficult subject. Many thanks to Charles and Minimiro for their patience and help on this subject. For more information on exporting a PDF/X file using Xtreme and Adobe Acrobat Pro 7.0, see Workbook 47.
|
||
|
|


