|
|
|
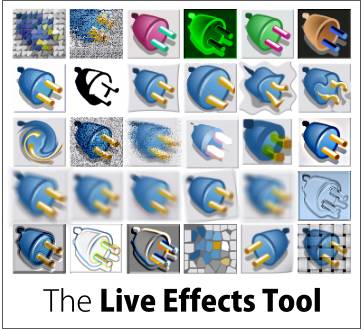
The Live Effects Tool was added in Xtreme version 3.2 and gave users the power to apply, edit, and remove if desired, Photoshop compatible filters to bitmaps and vector objects. I covered the basics for the Live Effects Tool in Workbook 43. Since that time, many new filters and effects have been added in Xtreme 4.0 that I will attempt to cover here today. You can see examples of many of the new effects in the image above. Admittedly, some of these effects are very subtle or obscure to the point that even your editor (that's me) does not have a clue as to what they do. To avoid confusing you (and me) I'll just skip over these.
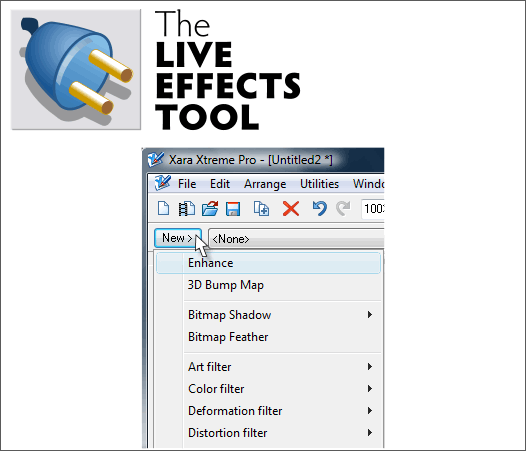
To apply a live effect, you must first have something selected (makes sense). Press Ctrl F5 or click the Live Effects Tool plug icon on the main tool bar. Press New > and select an effect from the drop down list.
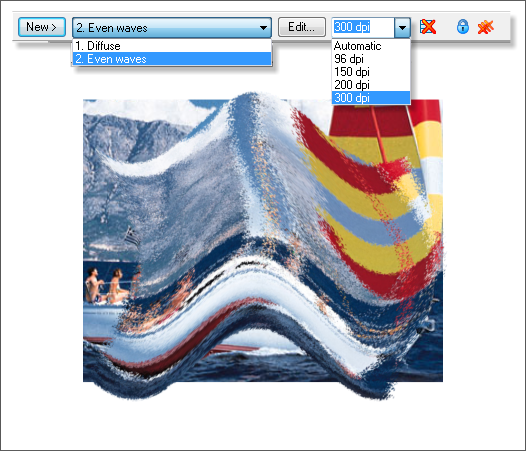
Before we look at the effects, however, a few words about the Live Effects Tool Infobar are in order. The Effects Applied in Order drop down list to the right of the New > button contains a list of any or all effects applied to a specific selection. The illustration above contains two effects, Diffuse, which creates the pixelized pattern, and Even Waves. You can select any of the applied effects and Edit them or delete them as you wish. Select an effect from the drop down list and press Edit, if you would like to edit that particular effect. Effects are rendered at a default resolution and are Automatically applied to the selection. But you can change the resolution which will change the appearance of the effect. We'll look at how this works in a moment. The Default resolution is 96 dpi but you can change this in the Page Options dialog (Utilities > Options... > Effects and Plug-ins) tabbed section. If you are creating effects for the web or for viewing on your computer screen, 96 dpi is fine. If you plan to print your modified images on a high resolution printer or at a commercial printing company, then use 300 dpi. The Blue Lock icon when in the down position (enabled) prevents the image to which the effect is applied from changing if you scale the object or rotate it. Some Photoshop compatible filters are automatically locked. If this is the case the Lock icon will be grayed out. If you want to make a bitmap copy of a modified image, and don't want to end up in the looney bin, enable the Lock/Unlock Effects icon. If you do not have the effect locked, you will get a lovely image of a polar bear in a snow storm (in other words, a white rectangle). Finally the triple X icon does not stand for Tres Equis, a popular Mexican beer, or a pornographic image, it stands for Delete All Effects. If you have several effects applied to an object, or if you have several different objects selected to which effects have been applied, press the XXX icon to remove all the effects in one easy operation. As near as I can tell, most all of the effects do not have a cancel option. This is unfortunate and I would expect this to change in a future version. But for the time being, you have to go ahead and commit to the effect, press the X to close the dialog (or in certain cases, press the undo arrow until all changes have been undid), and then close the filter dialog and press the single X icon on the Infobar to clear the slate.
|
||||||
|
|


