
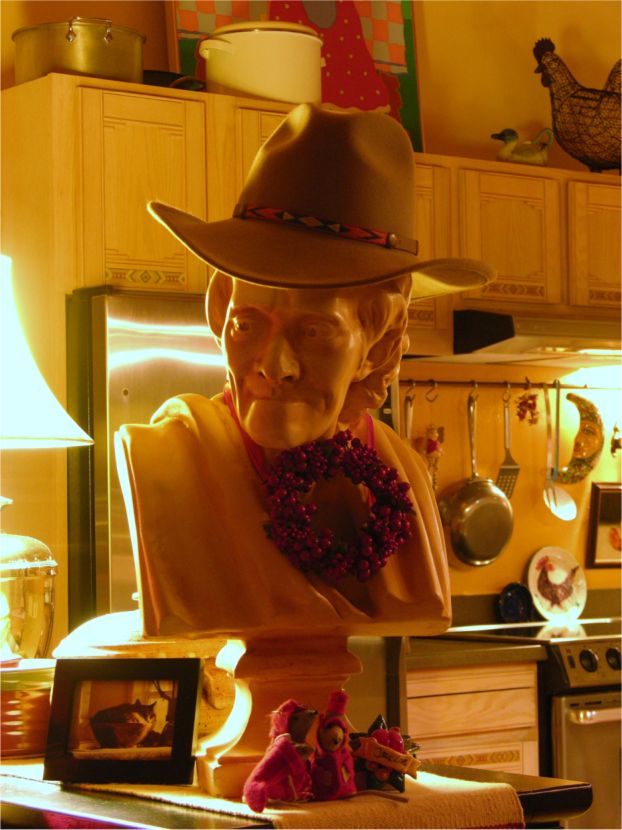
Next we’ll create a bas relief brass plaque effect. Click here for a photo you can use to do this tutorial. The photo is a bust of the French philosopher Voltaire in a cowboy hat and decorated for the winter holiday season. Or you can use any photo of your choice.

Select the photo with the Photo Tool (P). Click the Enhance Photos icon on the top left of the Photo Tool Infobar. Set the Brightness to 20, Contrast to 5, Saturation to -100, and the Sharpness to 5. These setting will vary for different photos.

Select the photo with the Live Effects Tool (Ctrl F5). Click New > Stylization Filter > Relief. Apply the settings shown above. Close the dialog.

Create a rectangle the same size as the photo. Apply a vertical Linear fill. Double click the fill path arrow to add two new colors. Edit the RGB colors in the Color Editor (Ctrl e) as shown above.
NOTE: If your RGB color values in the Color Editor are in percent instead of 0-255, you need to change the Color Units in the Utilities > Page Options... Units > Color Units .

Send the linear filled rectangle to the back (Ctrl b) and center the rectangle under the photo.

Select the photo with the Transparency Tool (F6). Apply a Flat, 20% Brightness transparency. These settings will vary with the photo.

Increase the size of the rectangle 20 pixels in each direction.

Select the linear filled rectangle with the Bevel Tool (Ctrl F3). Select Point Frame 2 from the Bevel Type drop down list. Drag any of the red arrow control handles towards the middle until the inner edge of the point frame is next to the photo.
You more adventurous types can try different bevel types. You can also change the fill colors to make a silver, or copper plaque. See Workbook 37 for a tutorial for creating different metallic fills.
|