|
These mini-tutorials have been created in Xara Xtreme 5. You should be able to work through these in Web Designer
as well. If you get hung up on something or if I have given the wrong instructions, please let me know.
Eric Butters has a fun and useful Guest Tutorial this month in which he shows how to create those nifty stretch buttons like the ones found in many of the Xara created website templates. These buttons expand or shrink depending upon the length of the text. You can use the same technique to create a flexible text area. It’s fun and easy. And there is no heavy lifting.
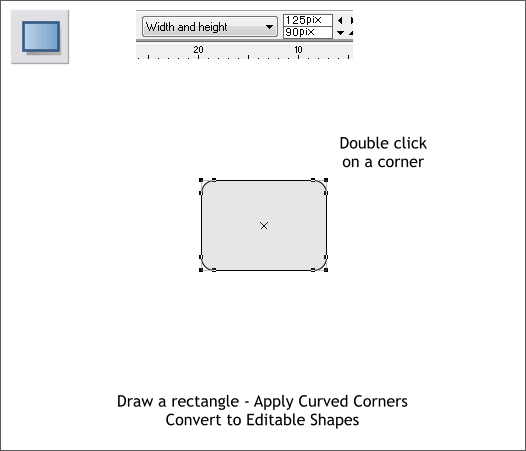
Select the Rectangle Tool (keyboard shortcut M). Draw a rectangle approximately 125 x 90 pixels. The size is not important as long as it is about the size shown above.
Double click on any of the corners to apply curved corners.
With the rectangle selected, from the Arrange menu, select Convert to Editable Shapes.
IMPORTANT: You have to convert the rectangle to editable shapes or else the stretching effect will not happen. Trust me. OK?
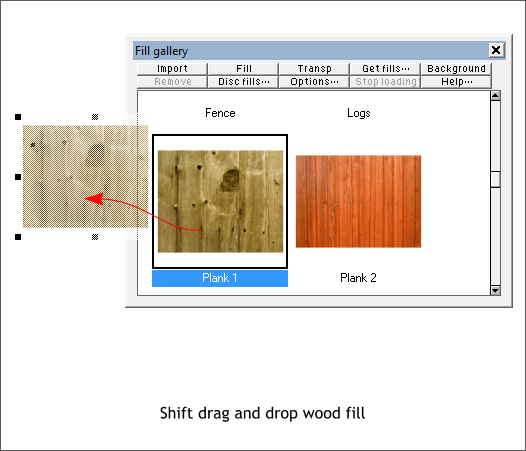
Open the Fill Gallery (Ctrl F11). Open the Wood Fills folder and scroll down to Plank 1. Hold down the Shift key and drag and drop the thumbnail image onto the rectangle.
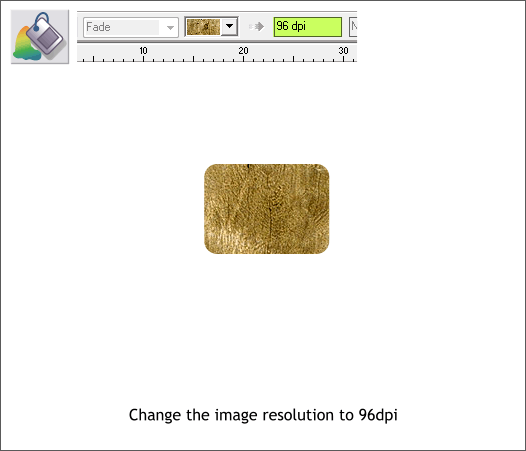
Select the rectangle with the Fill Tool (F5). Click on the rectangle once or twice until the Bitmap Resolution text entry box appears as shown above. Change the resolution to 96
dpi and press Enter (or Return) to apply the change.
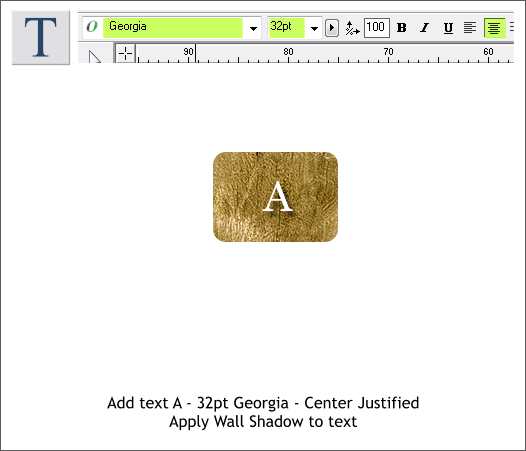
Select the Text Tool (T). Add a capital A. Change the Font to Georgia Regular and the size to 32pt. Click the Center Justification icon on the Infobar (shown above right).
Select the Shadow Tool (Ctrl F2) and apply a Wall Shadow (click the Wall Shadow icon on the Shadow Tool Infobar).
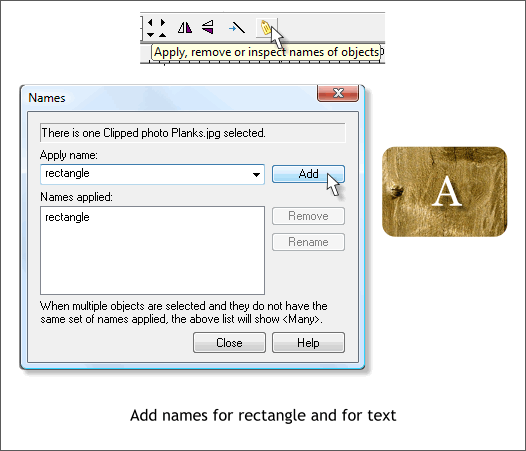
Select the rectangle then click the Names yellow tag icon on the Infobar.
Name the rectangle “rectangle” (or “Fred”, or “shape” or anything you feel like, be creative as you dare) and press Add.
Select the capital A and give it a name as well. In this case call it Text.
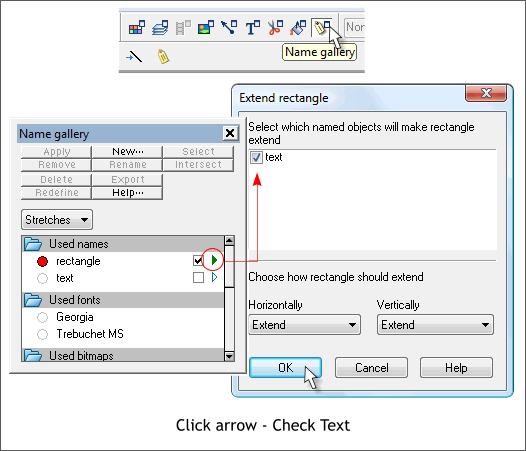
Open the Name Gallery (Ctrl F9). From the drop down list, select Stretches.
To the right of “rectangle” (or whatever you named your rectangle) click the small triangle. In the Extend Rectangle dialog, check text. Make sure the Horizontally and
Vertically drop down lists show Extend (as shown above).
Click OK to close the Extend dialog. Close the Name Gallery if it is still open.
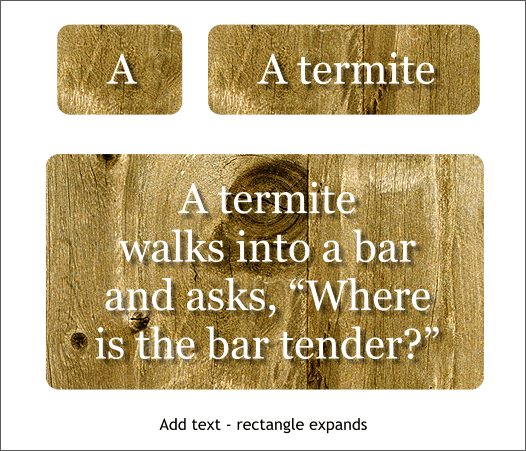
Select the capital A with the Text Tool and start keying in your text. As illustrated above, as you add more text, the rectangle expands.
TIP: A feature new to Web Design, Xtreme 5 and Xtreme 5 Pro is the ability to double click on an object and automatically change to the appropriate tool. In this case the
Text Tool if you click on the text.
This is essentially the same technique for creating stretch buttons. You can also copy and paste text into the stretchy text area.
|