|
Another question that pops up frequently is how can I create a mouse over button that links to a pop up image but also links to another source, such as a web page. Nothing is ever as simple as I think it is, but
here is how I do it.
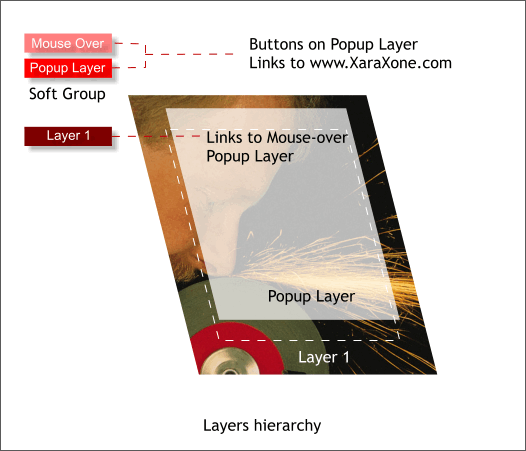
In this mini-tutorial we’ll create a button that links to a popup layer with text and a transparent panel and also links to an external website. There are three
buttons. The first button is on Layer 1 or Mouse Off layer (Layer 1) and when the cursor is over the button, links to the popup layer. On the popup layer there is another button (Popup Layer
) and a Mouse Over version of this button (Mouse Over). This button links to an outside website.
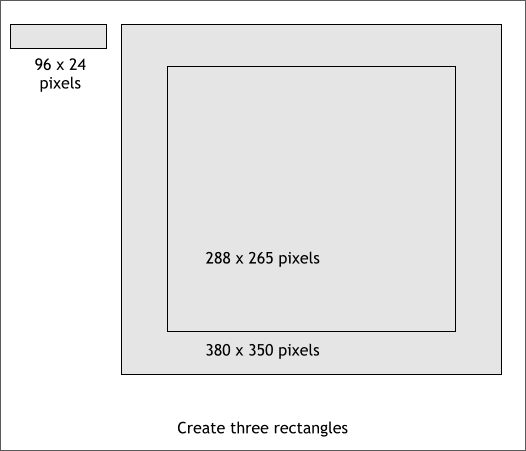
Create three rectangles more or less to the sizes and positions shown above.
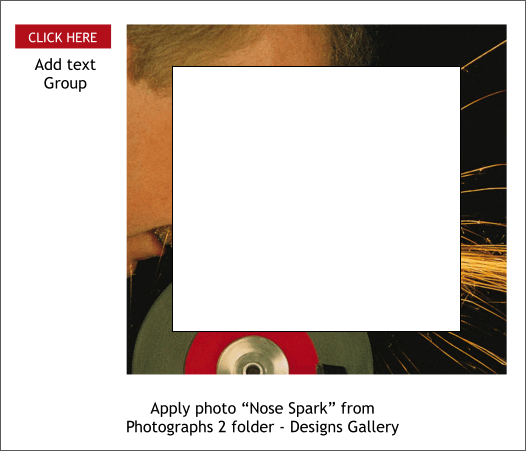
Apply a deep red fill to the rectangle. Add the text CLICK HERE to the rectangle. Group rectangle and text. This will be the Layer 1 or Mouse Off button.
Open the Designs Gallery (Shift F10), Photographs 2 folder and scroll down to the Nose Spark photo. Hold down the Shift key and drag and drop the Nose Spark
onto the larger rectangle.
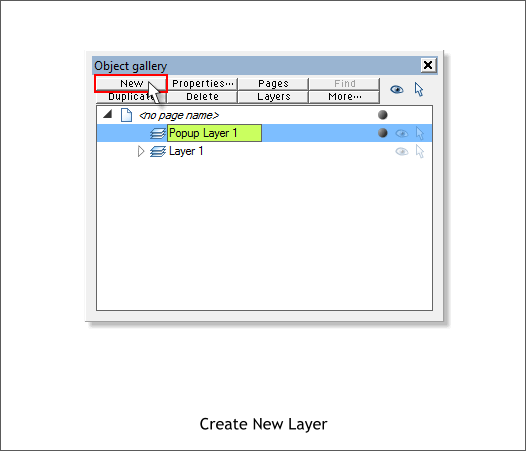
In the Object Gallery (F10), create a new layer Pop Layer 1.
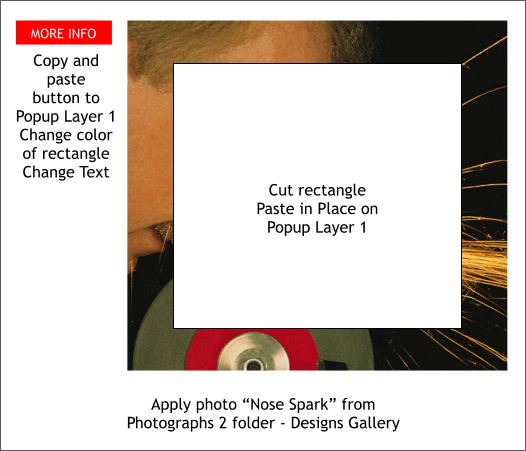
Copy the button and paste it in place (Edit > Paste in Place) on this new layer. Ctrl click on the rectangle to select just the rectangle, and change the
color to bright red. Change the text to MORE INFO.
With Popup Layer 1 selected, Cut the center rectangle to the clipboard (Ctrl x) and Edit > Paste in Place onto Popup Layer 1. Change the fill color to white.
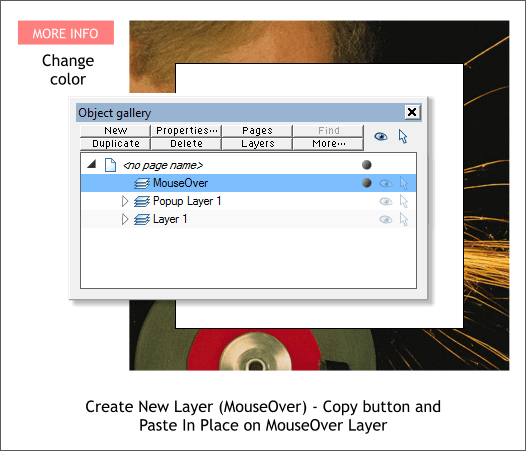
Create a new layer, MouseOver. With this layer selected, copy the button and Edit > Paste in Place onto the MouseOver layer. Change the fill color for the rectangle to pale red.
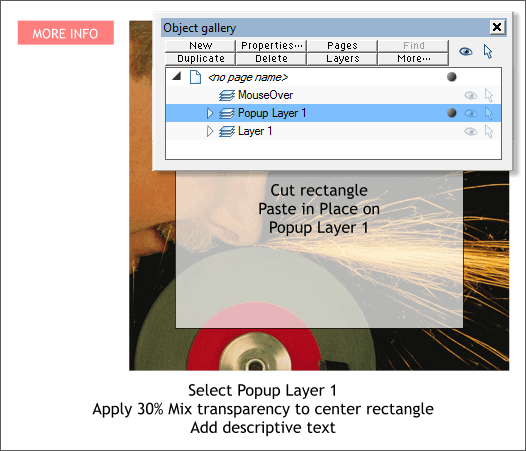
Select Popup Layer 1 then select the center white rectangle. Select the Transparency Tool (F6) and move the Transparency slider on the Infobar to 30%
. Add some descriptive text. Something that describes what the chap is doing to his nose. Or you can use my prose shown in the next illustration.
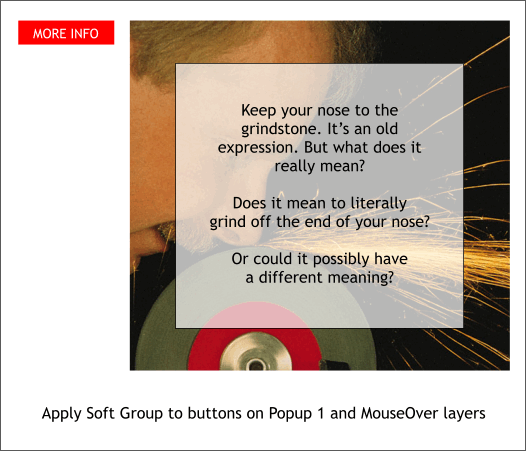
Make Layer 1 invisible (click the eye symbol for that layer) and locked (click the arrow next to the eye icon on Layer 1 it will turn into a padlock).
With the Popup Layer and the MouseOver layer visible and editable, drag a selection rectangle around the two buttons (the status bar will show 2 groups selected). From the Arrange
menu, select Apply Soft Group.
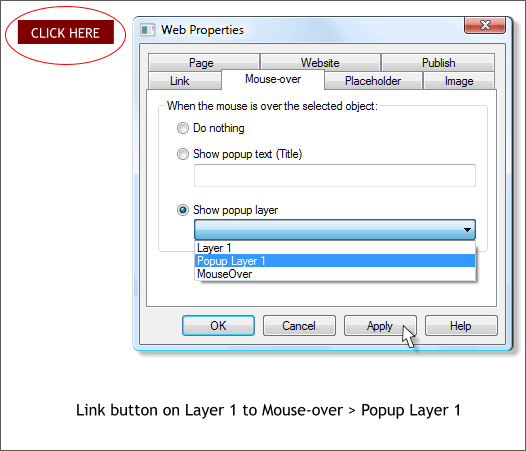
Select Layer 1 and make the layer visible and editable. Make Popup Layer 1 and MouseOver layer invisible by clicking the eye icons.
Select the CLICK HERE button. Open the Web Properties dialog (Shift Ctrl w). In the Mouse-over tabbed section, select Popup Layer 1 from the Show Popup Layer
drop down list. Press Apply.
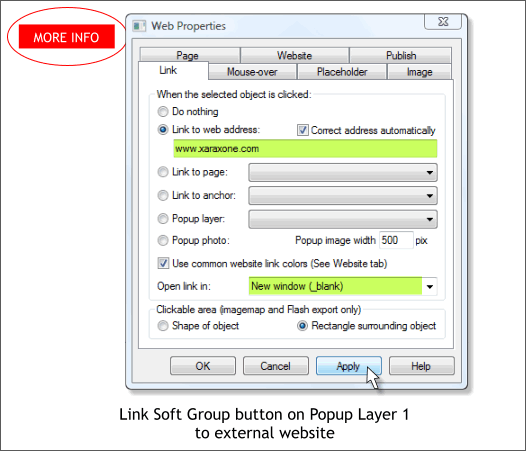
Make the MouseOver and Popup Layer 1 layers visible. Select the Soft Group button and then select the Link tabbed section. Add an external link in the Link to Web Address:
text entry box such as www.XaraXone.com. If you specify Open Link In: New Window (_blank) a new window will open with the linked page and your original web page will also remain open. I like to use
this option because my visitor can go to the linked web page but return to my page when she or he is finished visiting the external page.
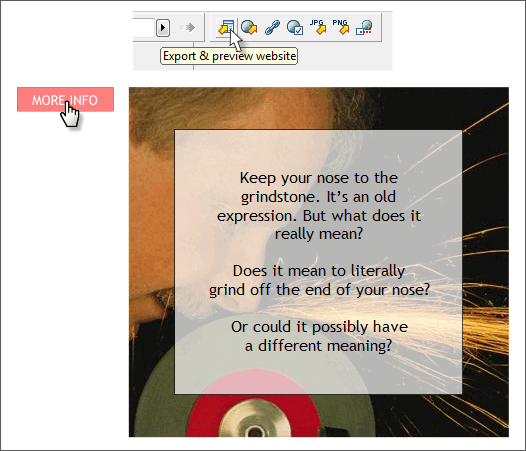
If you have the Website toolbar enabled (Window > Control Bars... Website), press Export & Preview Website. Otherwise select Preview Website from the File
menu.
It should look like this.
|