|
||
|
|
|
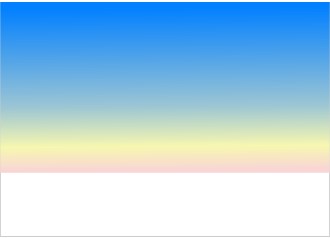
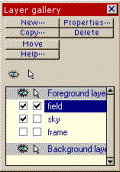
Now we'll make a start on the ploughed field in the foreground. So make a new layer called 'field' Make a bar about the width of the picture and make it fairly thick (high) so you can shade it easily. Use the fill tool to shade the bar in two shades of brown with the lighter shade on top. This will be one of the furrows. (It may help to zoom in so you can reposition the fill path arrow easily). |
|
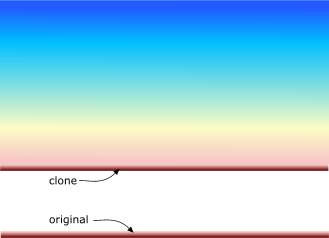
Drag the furrow you have just made down to the bottom edge of the landscape and shrink it's height until you think it's about right. You may have to EXPERIMENT here both with the height of the furrow and maybe with the height of the sky. Use Ctrl k to make a clone of the furrow and drag the clone up to the bottom boundary of the sky. |
|
 EXPERIMENT until you end up with colours you like.
 TAKE AN EYE BREAK?