
|
||
|
|
|
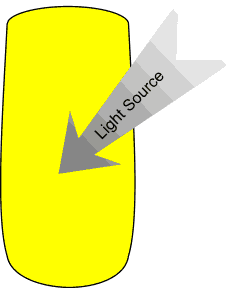
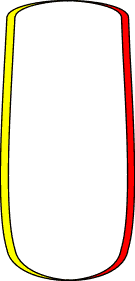
This creates a copy directly above the original. Using the arrow keys move the cloned copy right, as shown here on the left. It might help to change the fill colour so you can distinguish between the two shapes. Now select all (Ctrl a) and Arrange > Combine Shapes > Slice Shapes (Ctrl 4) Select and delete the larger, right hand side shape. |
|
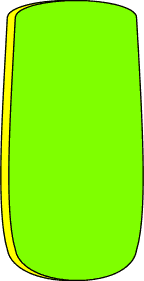
Now let's create the other side of the glass. You still have the original glass shape copied to the clipboard, so Ctrl Shift v to paste another copy onto the page in the same place from which it was copied.
|
|
Select the 2 shapes and again Arrange > Combine Shapes > Slice Shapes. Delete the larger left hand shape.
|
|
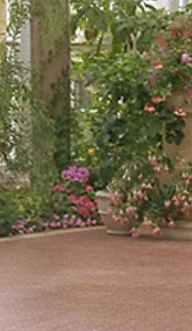
From this point onwards we're going to be working with shapes filled with mainly black and white fills and a great deal of transparency, so now would be a good time to introduce our background image, otherwise it will become difficult to understand whats going on and also even more difficult to adjust the transparencies to the required values. For my tutorial in the forums I used part of a photograph from the XaraX CD. I reproduce it below should you want to use it. Otherwise you may wish to temporarily remove your glass from the computer desk, take a digital photo of the desk, and use this as your background.
|
|
Name this layer "Background bitmap" In the Layers Gallery, select this new layer and drag it to the bottom of the pile. Import this bitmap (or your own) into this layer and realign and resize it to fit in with the glass shape. Set this layer to visible but non-editable. Now select the "Body highlights" layer again
|
|
 Ctrl Shift v
to paste a copy in exactly the same position in the new layer.
Ctrl Shift v
to paste a copy in exactly the same position in the new layer.
 Select the shape and clone it (Ctrl k)
 You should now be left with the shape shown on the left.
 Once again Ctrl k
to make a clone and this time move the clone to the left.
Once again Ctrl k
to make a clone and this time move the clone to the left.
 You should now have 2 shapes as shown left.
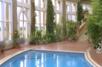 The png used for my background. I believe the indoor swimming
pool is in the Xara Ltd. castle/offices. (It must be hell working at Xara Ltd!)
The png used for my background. I believe the indoor swimming
pool is in the Xara Ltd. castle/offices. (It must be hell working at Xara Ltd!)
 Open the layers gallery and select new to create a new layer.