
|
||
|
|
|
You should be left with the shape left. Now, in the Layers Gallery, drag this layer to just above the Background bitmap and Shadow layers. Make all layers except Layer 1 and Complete shape visible but non-editable.
|
|
With the centre fill handle selected (highlighted red), move the fill up and left to create an illusion of the refraction. That's the project almost complete. One final thing remains. Grab that damned empty glass, go to the freezer and add ice cubes, return to the drinks cabinet, grab the Bells Whisky bottle (or your beverage of choice) and pour yourself two fingers (using the index and pinky fingers), sit back, mellow out and appreciate how your image improves in proportion to how the glass empties! If you've stayed with me all this way, you deserve a drink. Egg Bramhill
|
|
NOTE: If you have enjoyed this tutorial, and have learned and profited by the material presented, please use the form on the next page to send Eric your comments, kudos, questions, and gift certificates to Egg's local package liquor emporium. These tutorials take a tremendous amount of time and effort and the only reward is your comments. [Editor] |
|
 Open the Layers Gallery again.
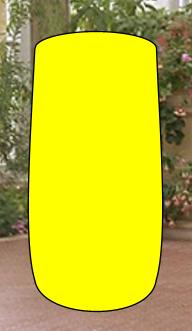
 Now select both the bitmap and the glass shape and Arrange
> Combine Shapes > Intersect Shapes. (Ctrl 3)
Now select both the bitmap and the glass shape and Arrange
> Combine Shapes > Intersect Shapes. (Ctrl 3)
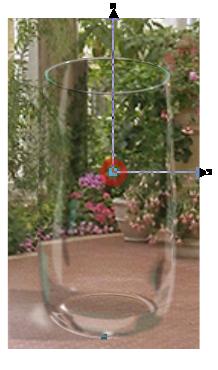 Now with the shape within the Refraction
layer still selected, select the Fill Tool.
Now with the shape within the Refraction
layer still selected, select the Fill Tool.